Create a Project Assessment
Project assessment is just like any other object-based assessment. However, in such assessments, the scope adds a project as an Object type which can be assessed by assessors. This assessment type is meant only for projects and not for any other entity type.
- Access the
 Assessment Hierarchy.
 - Right-click the assessment folder where in you wish to house your assessment and select
 Add New Assessment. The assessment you create will automatically be housed in the Ad-hoc Assessments folder under that particular assessment folder.
 - Alternatively, expand the specific assessment folder, right-click the Ad-hoc Assessments folder and select
 Add New Assessment.to create you assessments.
Note: You can create an assessment from an assessment template as well. See Create Assessments from an Assessment Template for more information.
- Choose Project as the Assessment Type.

- The Iteration Type drop-down list will be auto-populated with Page as the iteration type. This is the only iteration that you can have while creating a Project assessment.
- Click Save to return to the Assessment List or Save and Add Questions to take you directly to the Questions tab.
Note: See Add an Assessment for more information.
- In in the Assessment tab, the Update Objects in the Governance Portal checkbox has been selected, insuring that the response information will update the data for the selected object in the Portal.
Pages
Pages house and organize the questions and visual elements that define the content of your assessment. By default, a single page will be pre-created for you when you create the assessment.
Manage Pages - Object Based Assessment (optional)
Create Questions Based on the Project
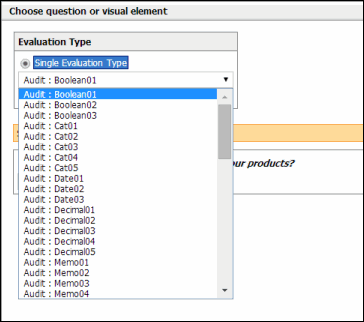
The next step is to create the questions based on project. For a project assessment, you can create both standard and evaluation type questions like the way you would create for a normal page-based assessment. For more information, see Add a question to a page-based assessment. However, you will be able to create evaluation type questions using the appropriate fields for just the Project object, which are available on the Project Attribute forms and not on activities, work papers, and project RCM sub-objects. For a complete list of available evaluation fields and tokens which can be used in a project assessment, see Project assessment evaluation fields and tokens.
Add Assessor Groups and Scope Assessors to Projects
A basic project assessment contains a single assessment group and no review groups.
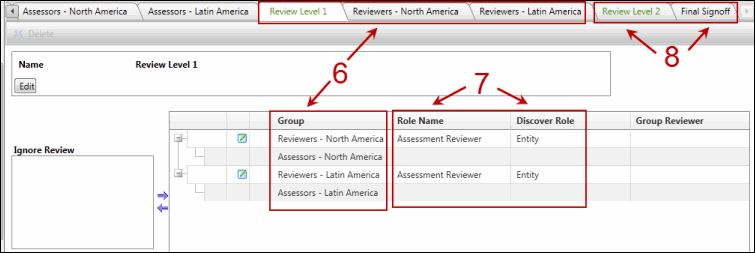
Note: You can create multiple assessor groups and levels of review for your project assessment. See the  Scoping with Advanced Levels of Review section or the Scope Tab - Object Based Assessment topic for more information on creating assessor and reviewer groups.
- Click the Scope tab in the assessment setup screen.
- Add Assessors: There is an initial assessor group created by default. Fill out the name, assessor, and their corresponding discover assignments and click Insert. Please note that you will find the Project Stakeholders and Project Team Member role in the Assessors drop-down list, which you will not find in any other area of the Governance Portal.
Note: The Project Stakeholders and Project Team Member roles are also present in the Reviewers drop-down list while creating reviewer groups for a Project assessment. Please note that these role are not available while selecting Group Reviewers while creating reviewer groups.
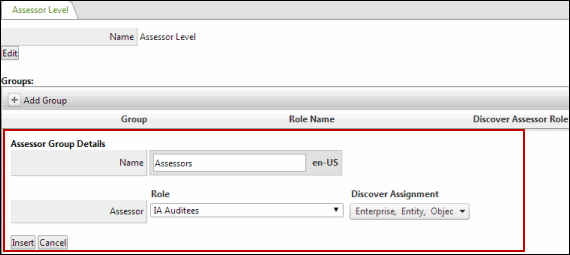
Note: In Project assessments, you cannot select the Action Plan Reviewer role as you would do generally in object-based assessments. Therefore, you will not find this field while creating the questions in the Questions tab. This is the only difference while creating assessor groups for project based assessments. Rest of the procedure for creating assessor groups is same as that of object-based assessments. For more information, see Creating assessor groups for object-based assessments.
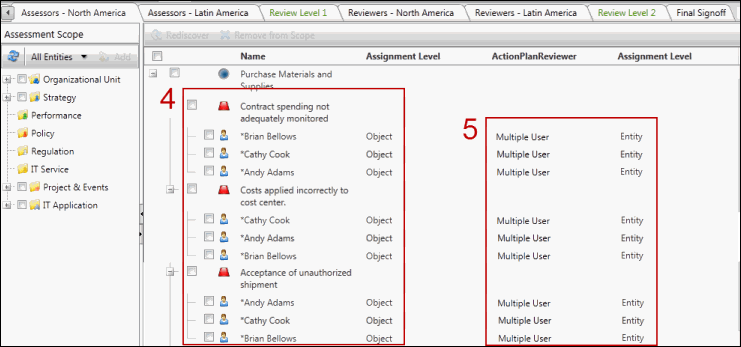
- Scope Objects: Click the Assessor tab, select the projects you wish to scope into the assessment from the left-hand window and click
 Add. The objects will be added to the assignment grid on the right side of the screen, with the assigned users below that object.
Note: By default, the left pane of the Assessment Scope window shows the Completed projects. You can toggle between other categories of projects (In Progress and Pending) from the drop-down list adjacent to the Add button. You can also select to display all types of projects at once by selecting All from the drop-down list.
- Remove individual assessors from the scope by highlighting them in the assignment grid and click Remove From Scope. The process of Rediscovering remains same as that for general object-based assessments.
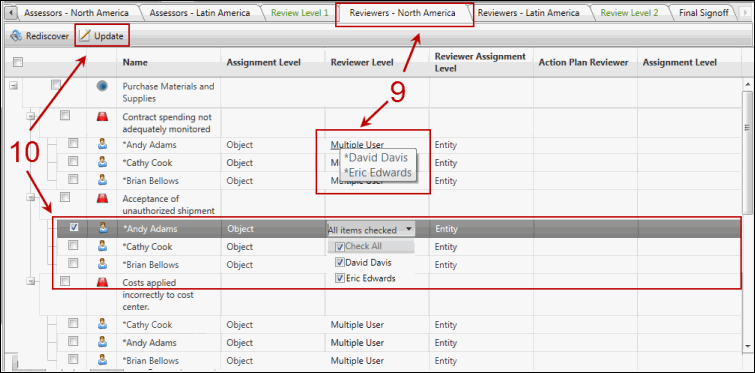
- The review process for project assessments remains same as that for object-based assessments.
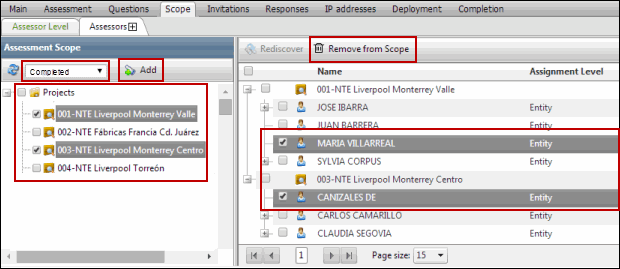
Note: You will not find the All Entities drop-down button in the left pane of the Assessment Scope window for a project assessment as you would see in case of other object-based assessments. The available buttons are Refresh and Add. Also, since the assessment type selected was Project, you will see only projects in the left pane of the Assessment Scope window. In addition, you will not be able to access the Confidential projects from the scope window.
Create and Populate Invitation Lists (optional)
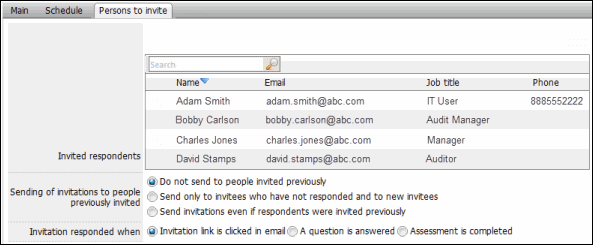
Once the groups have been created, objects scoped and roles assigned, the next step is to schedule distribution of the assessments through invitation groups in the Invitations tab. The invitations for assessors will be created automatically and the  Persons to Invite list in the invitations tab will be updated based on the assessors scoped in. See Invitations tab for more information.
Note: This is an optional step. Email invitations are not required. Assessors can access their Assessments from the My Assessments page or from the Favorites and Action Items menu.
Deploy the Assessment
Set the status of your assessment to Open from the assessment hierarchy or Deployment tab. Invitation emails will be sent to the assessors, who can also access the assessment from within the Governance Portal.
Note: See Complete the Assessment for more information on how assessors access and complete assessments.


